How to Create a New Automation Rule in Jira: 7 Easy Steps
Not sure how to create new automation rule in Jira? Follow 7 easy steps to build, test, and troubleshoot workflows. Click to discover!
Jira automation can save hours, yet creating your first rule often feels harder than it should. You may see triggers, conditions, actions, branches, and smart values before you know what belongs where. One small mistake can create duplicate issues, endless notifications, or a workflow that never runs. But here's the truth: most useful rules follow a simple pattern. Something happens, Jira checks a condition, and Jira performs an action. I’ll show you how to create a new automation rule in Jira through seven practical steps. You’ll also learn how to test it safely, troubleshoot common failures, and decide when another project management platform may suit your workflow better.
How to Create a New Automation Rule in Jira
A Jira automation rule connects an event to one or more automatic actions. For example, when an issue moves to “Done,” Jira can assign it to a reviewer, add a label, send a notification, or transition a related issue.
Let me explain: every rule normally contains three building blocks:
- Trigger: the event that starts the rule.
- Condition: the requirement Jira checks before continuing.
- Action: the change Jira makes after the rule passes.
Follow these seven steps to create a reliable automation rule.
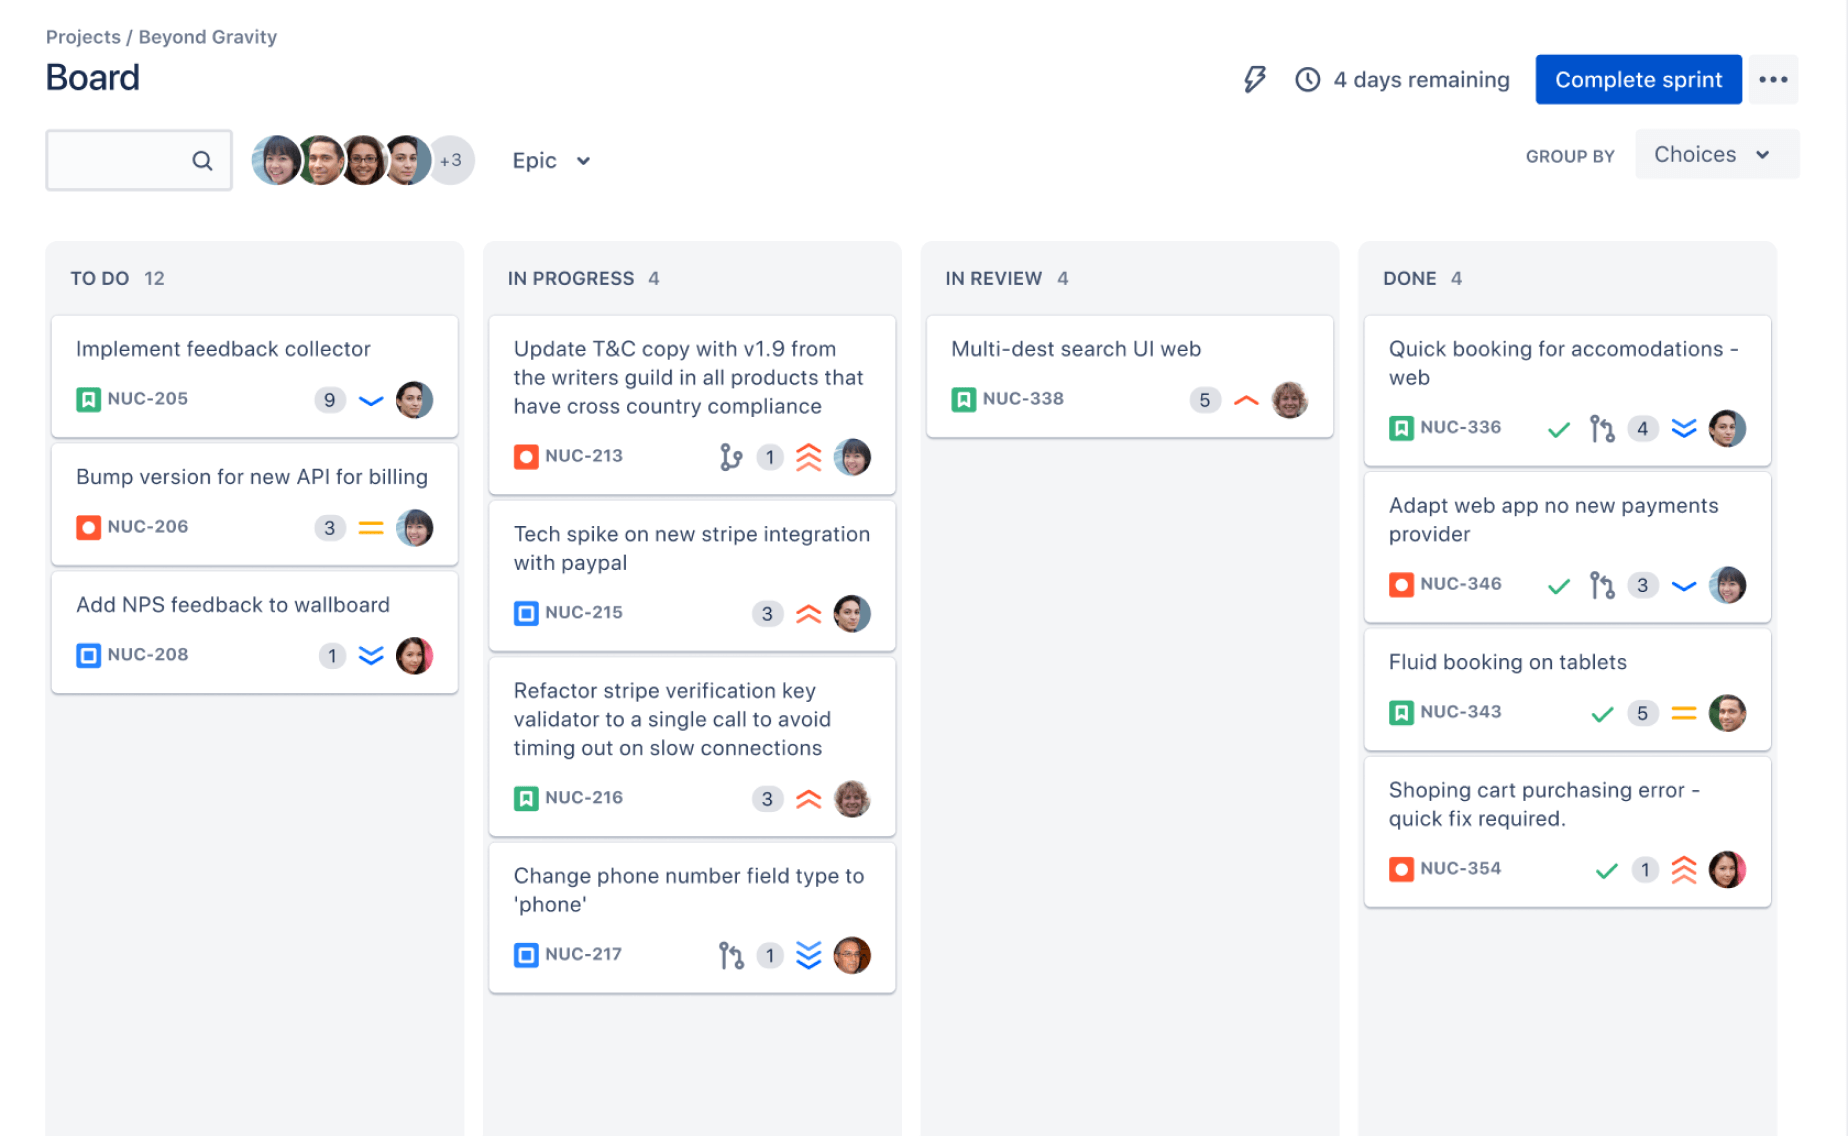
1. Open the automation area
Open the Jira project where you want the rule to run. Select Project settings, then choose Automation.
Depending on your Jira version and permissions, automation may appear under a project-level menu or a broader administration area. Project administrators usually manage rules for one project, while Jira administrators may manage global rules.
You might be wondering: what if you cannot see Automation? Check your project role, Jira permissions, and subscription limits. A missing menu often means your account does not have the required access.
2. Start a new rule
Select Create rule or the equivalent button for adding a new automation rule. Jira opens the rule builder.
Before choosing anything, write the intended behavior in one sentence:
“When a high-priority bug enters testing, assign it to the testing lead and notify the release channel.”
This sentence gives you a clear trigger, condition, and action. It also prevents unnecessary steps that make the rule harder to maintain.
3. Choose the trigger
Select the event that should start the rule. Common triggers include:
- Issue created
- Issue transitioned
- Field value changed
- Comment added
- Issue assigned
- Scheduled time reached
- Sprint started or completed
- Incoming webhook received
Choose the narrowest trigger that matches your goal. For example, select Issue transitioned and specify the move from “In Progress” to “Ready for Review.”
A broad trigger can run far more often than expected. If you choose every field change, a rule may activate when someone edits a label, estimate, or minor description detail.
4. Add conditions
Conditions tell Jira when the rule should continue. You can check issue fields, user roles, issue types, labels, priorities, or related issue details.
For example, add these conditions:
- Issue type equals Bug
- Priority equals Highest
- Component equals Mobile App
Jira only continues when the issue meets the required checks. This protects your project from accidental assignments and unnecessary alerts.
Here's why: a trigger answers “when should Jira look?” A condition answers “which issues qualify?” Keeping those questions separate makes troubleshooting much easier.
5. Add one or more actions
Choose what Jira should do after the trigger and conditions pass. Typical actions include:
- Assign the issue to a person or role
- Change the issue status
- Update a field
- Add a comment
- Add or remove a label
- Send an email or chat notification
- Create a linked issue
- Transition a related issue
- Log a work entry
Keep the first version focused. If your rule assigns an issue, changes its status, posts a comment, and creates a second issue, testing becomes more difficult.
For instance, start with one action that assigns a newly created bug to the triage lead. After confirming that it works, add a notification or field update.
6. Test the rule and review the audit log
Use Jira’s test option if it is available. Choose a real issue that resembles the scenario you expect, then check whether Jira predicts the correct result.
After testing, review the audit log. It can show whether Jira:
- Detected the trigger
- Passed or failed a condition
- Completed an action
- Stopped because of an error
- Reached an execution limit
The best part? The audit log gives you a practical trail without guessing. If the rule did not run, start with the trigger. If it ran but stopped, inspect the conditions and action details.
7. Turn on the rule and monitor the first runs
Save the rule, give it a descriptive name, and turn it on. Use a name that explains both the event and the result.
Good example: Assign urgent mobile bugs to triage lead.
Weak example: Bug rule 1.
Watch the first few executions. Confirm that the right issues changed, the right people received notifications, and no duplicate issues appeared. If the result is wrong, turn the rule off before adjusting it.
Plan the Rule Before Building It
A short planning exercise can prevent most automation errors. Write down the event, scope, conditions, action, and exception before opening Jira’s builder.
| Planning question | Example answer |
|---|
| What starts the rule? | A bug moves to “Ready for Testing.” |
| Which issues qualify? | Only urgent bugs in the mobile component. |
| What should happen? | Assign the issue to the testing lead. |
| What should not happen? | Do not notify the whole team. |
| How will you verify it? | Test with one matching bug and inspect the audit log. |
This approach resembles a small flowchart. You identify the starting event, filter the path, and define the result. That makes complex rules easier to explain to teammates.
Consider a support project. A ticket may be created, categorized, assigned, escalated, and closed. Automating every stage at once creates risk. Automate the most repetitive handoff first, then expand after you understand the result.
Use Conditions, Branches, and Smart Values Carefully
Simple rules need one trigger, one condition, and one action. More advanced rules may use branches, related issues, or smart values to reuse information from the current issue.
Conditions reduce unwanted actions
Suppose you want Jira to notify a release manager when a task becomes blocked. Add a condition requiring the “Blocked” label or a specific status. Otherwise, the rule may notify someone whenever any task changes.
Conditions work like a gate. The trigger opens the gate for inspection, and the condition decides whether the issue can proceed.
Branches handle related work
Use a branch when the action must affect another issue, such as a parent task, linked issue, or subtask. For example, when a parent story reaches “Done,” Jira may transition its remaining subtasks.
Be careful with branches. A single trigger can affect several related issues, creating multiple comments or transitions. Test the rule with a small set of related issues before enabling it broadly.
Smart values carry useful details
Smart values let Jira reuse information such as an issue key, summary, priority, or assignee. A notification could include the current issue key and summary automatically.
Use only the values you need. A concise message such as “Issue ABC-123 is ready for review” is easier to understand than a notification packed with every available field.
Test Automation Without Disrupting Your Team
Automation can change real work quickly, so testing deserves its own process. Start with one issue, one action, and a limited audience.
Use a controlled test issue
Create or select an issue that represents the intended scenario. Avoid testing on a high-impact production issue if the rule can transition, close, or reassign work.
For example, create a sample task with the “Needs Review” label. Let the rule add a comment, then confirm the wording and timing before adding status changes.
Check for loops and duplicates
A rule can accidentally trigger another rule. One rule may update a field, which starts a second rule, which changes the same field again.
Look for repeated comments, duplicate linked issues, or a status that changes more than once. Add a condition that prevents the rule from running after the intended action is complete.
Review limits and permissions
Jira automation plans can have execution limits. Rules may also require permission to edit issues, transition work, send notifications, or create related items.
If a rule works for you but fails for another project, compare permissions and project scope. The rule itself may be correct while the execution context lacks access.
Common Automation Patterns You Can Reuse
Once you understand the basic builder, many practical workflows follow familiar patterns. These examples show how to translate repeated work into a rule.
Automatic triage
Trigger: a new bug is created.
Conditions: priority is High and component is Payments.
Actions: assign the issue to the payments triage group and add the label needs-review.
This pattern removes a manual sorting step while keeping responsibility visible.
Review reminders
Trigger: an issue remains in “Code Review” for two business days.
Condition: the issue is still unresolved.
Action: notify the assignee and reviewer.
This approach helps teams follow up without sending reminders for work that already moved forward.
Release follow-up
Trigger: a release is marked complete.
Condition: unresolved bugs remain in the release.
Action: create a follow-up task for release review.
The rule turns a missed follow-up into a visible task, reducing the chance that unfinished work disappears after a launch.
A Practical Automation Alternative: ONES.com
ONES.com is a unified platform for project management and knowledge management, powered by ONES Assistant. ONES Project handles project management and serves as a Jira alternative, while ONES Wiki provides knowledge management as a Confluence alternative. The two products are sold separately.

If your team wants automation within a broader project workspace, ONES.com provides Jira-compatible workflows, built-in reporting, custom workflows and fields, sprint management, and automation. It also supports cloud, on-premise, private cloud, and air-gapped deployments.
Core Capabilities
Complex Jira administration slows delivery → Jira-compatible workflows → Familiar processes with less migration friction
If your team already uses issue types, status flows, sprints, and approval steps, changing platforms can feel disruptive. ONES Project supports Jira-compatible workflows, helping teams preserve familiar project patterns while evaluating another environment.
Too many plugins create maintenance work → Built-in reporting and automation → Fewer separate extensions to manage
When reporting and automation depend on multiple add-ons, ownership becomes unclear. ONES Project includes built-in reporting and automation capabilities, giving teams a more centralized way to manage recurring project operations.
Rigid project structures hide important context → Custom workflows and fields → Better alignment with team-specific processes
A software team may need fields for risk, release scope, or testing ownership. Custom workflows and fields allow the project space to reflect those needs instead of forcing every team into one generic path.
Manual sprint administration consumes planning time → Sprint management → More consistent sprint preparation and tracking
Teams can manage sprint planning and progress in the same project environment. That keeps backlog movement, sprint execution, and delivery reporting connected.
Restricted networks limit cloud choices → On-premise, private cloud, and air-gapped deployment → More deployment flexibility
Organizations with strict network requirements may need self-hosted deployment. ONES.com offers cloud, on-premise, private cloud, and air-gapped options, with full feature parity between cloud and self-hosted versions.
Separate project and knowledge tools create gaps → ONES.com platform structure → Project work and team knowledge can fit into one ecosystem
Project decisions often need supporting explanations, procedures, and team guidance. ONES.com combines project management and knowledge management, while allowing ONES Project and ONES Wiki to be purchased separately.
AI experimentation is difficult to govern → ONES Assistant → A built-in path for AI-supported project work
ONES Assistant adds AI capabilities to the platform. Teams can begin with practical requests and establish clearer habits before expanding AI use across project operations.
Small teams need a low-risk starting point → Free plan for up to 30 seats → An accessible way to evaluate the platform
Teams can start with up to 30 seats on the free plan. That gives a small group room to assess workflows, reporting, and collaboration before making a broader decision.
Application Scenarios
Software delivery team: A development group can manage sprints, custom fields, approval steps, and automated status updates in ONES Project. Built-in reporting can then show progress without assembling separate extensions.
Restricted-network organization: A team that cannot use a standard public-cloud setup can evaluate an on-premise or air-gapped deployment. The workflow remains available in an environment aligned with its network requirements.
Growing product organization: Product managers can use ONES Project for delivery planning and ONES Wiki for team knowledge. Because the products are sold separately, the organization can adopt the capability it needs first.
Common Challenges and Practical Fixes
The rule never runs
Problem: You create the rule, but nothing happens.
Solution: Confirm that the rule is active, the trigger matches the actual event, and the project falls within the rule’s scope. Then inspect the audit log for permission or limit errors.
The rule runs too often
Problem: The team receives repeated alerts or sees several unexpected changes.
Solution: Narrow the trigger and add conditions for status, issue type, label, component, or priority. Also check whether another rule is creating a loop.
The action affects the wrong person
Problem: Issues are assigned to an unexpected user or role.
Solution: Review the assignee action and its execution context. A rule that runs as a fixed account may behave differently from one that uses the current assignee or project role.
The rule works in one project but not another
Problem: A copied rule behaves differently across projects.
Solution: Compare workflow statuses, field names, permissions, and project settings. Two projects may use similar labels while applying different workflow configurations.
The automation becomes too complicated
Problem: One rule contains many branches, conditions, and actions that nobody wants to edit.
Solution: Split it into smaller rules with clear names. A few focused rules are often easier to test than one large chain with many possible paths.
FAQs
Do I need administrator access to create a Jira automation rule?
It depends on the rule scope and your Jira configuration. Project administrators may create project-level rules, while global rules usually require Jira administrator permissions. You also need enough access for the actions you choose. For example, assigning an issue, transitioning it, or creating a related issue may require specific project permissions.
Why did my Jira rule trigger but fail afterward?
The trigger may have worked while a condition or action failed. Open the audit log and check the exact step where execution stopped. Common causes include missing permissions, an invalid field value, an unavailable status transition, an incorrect smart value, or an automation execution limit.
Can one Jira automation rule include several actions?
Yes. A rule can update fields, add a comment, send a notification, transition an issue, or create a related issue. Start with one action during testing. Add further actions only after confirming the first result, especially when the rule can affect several issues or notify a large group.
How can I prevent automation loops?
Check whether one rule changes a field that triggers another rule. Add conditions that recognize when the intended action has already happened. You can also use distinct labels, statuses, or carefully chosen triggers to separate the rules. Review the audit log for repeated executions involving the same issue.
Is ONES.com suitable for teams moving beyond Jira?
ONES Project is positioned as a Jira alternative and supports Jira-compatible workflows, custom fields, sprint management, reporting, and automation. ONES.com also offers cloud, on-premise, private cloud, and air-gapped deployment options. Teams should compare workflow requirements, permissions, migration needs, and deployment constraints before choosing a platform.
Conclusion
Creating a Jira automation rule becomes manageable when you separate the process into seven steps: open Automation, start a rule, choose a trigger, add conditions, define actions, test the result, and monitor the first runs.
But here's the truth: reliable automation depends less on adding many actions and more on defining a narrow purpose. Start with one repetitive task, test it on one representative issue, and expand only after the result is predictable.
If Jira administration feels too fragmented, ONES.com offers another project management path through ONES Project, with compatible workflows, native reporting, automation, flexible deployment, and a connected knowledge management option through ONES Wiki. The right choice is the one that keeps your team’s work clear, controlled, and easy to improve.