Jenkins Jira Integration: 5-Step Setup Guide for Teams
Need Jenkins builds linked to Jira? Follow this 5-step jenkins jira integration guide to track releases across teams—read now.
When Jenkins finishes a build, your team needs to know which Jira issue it belongs to and what happened next. Without that connection, developers may update tickets by hand, lose deployment context, or spend time chasing build details across systems.
Those small gaps can make a release harder to review. A successful build might not appear on its Jira issue, while a failed pipeline may leave the team unsure which work needs attention.
But here's the truth: you can connect Jenkins and Jira in five practical steps. I’ll walk you through the prerequisites, secure authentication, plugin setup, pipeline updates, and a test run. You’ll also learn how to troubleshoot common problems and choose an integration approach that fits your team.
How to Set Up Jenkins and Jira Integration in 5 Steps
At a glance, connect a Jenkins service account to Jira, configure an integration method, add issue keys to build activity, and verify the result on a real ticket. The exact screens depend on your Jira edition and plugin, so confirm compatibility before changing a production job.
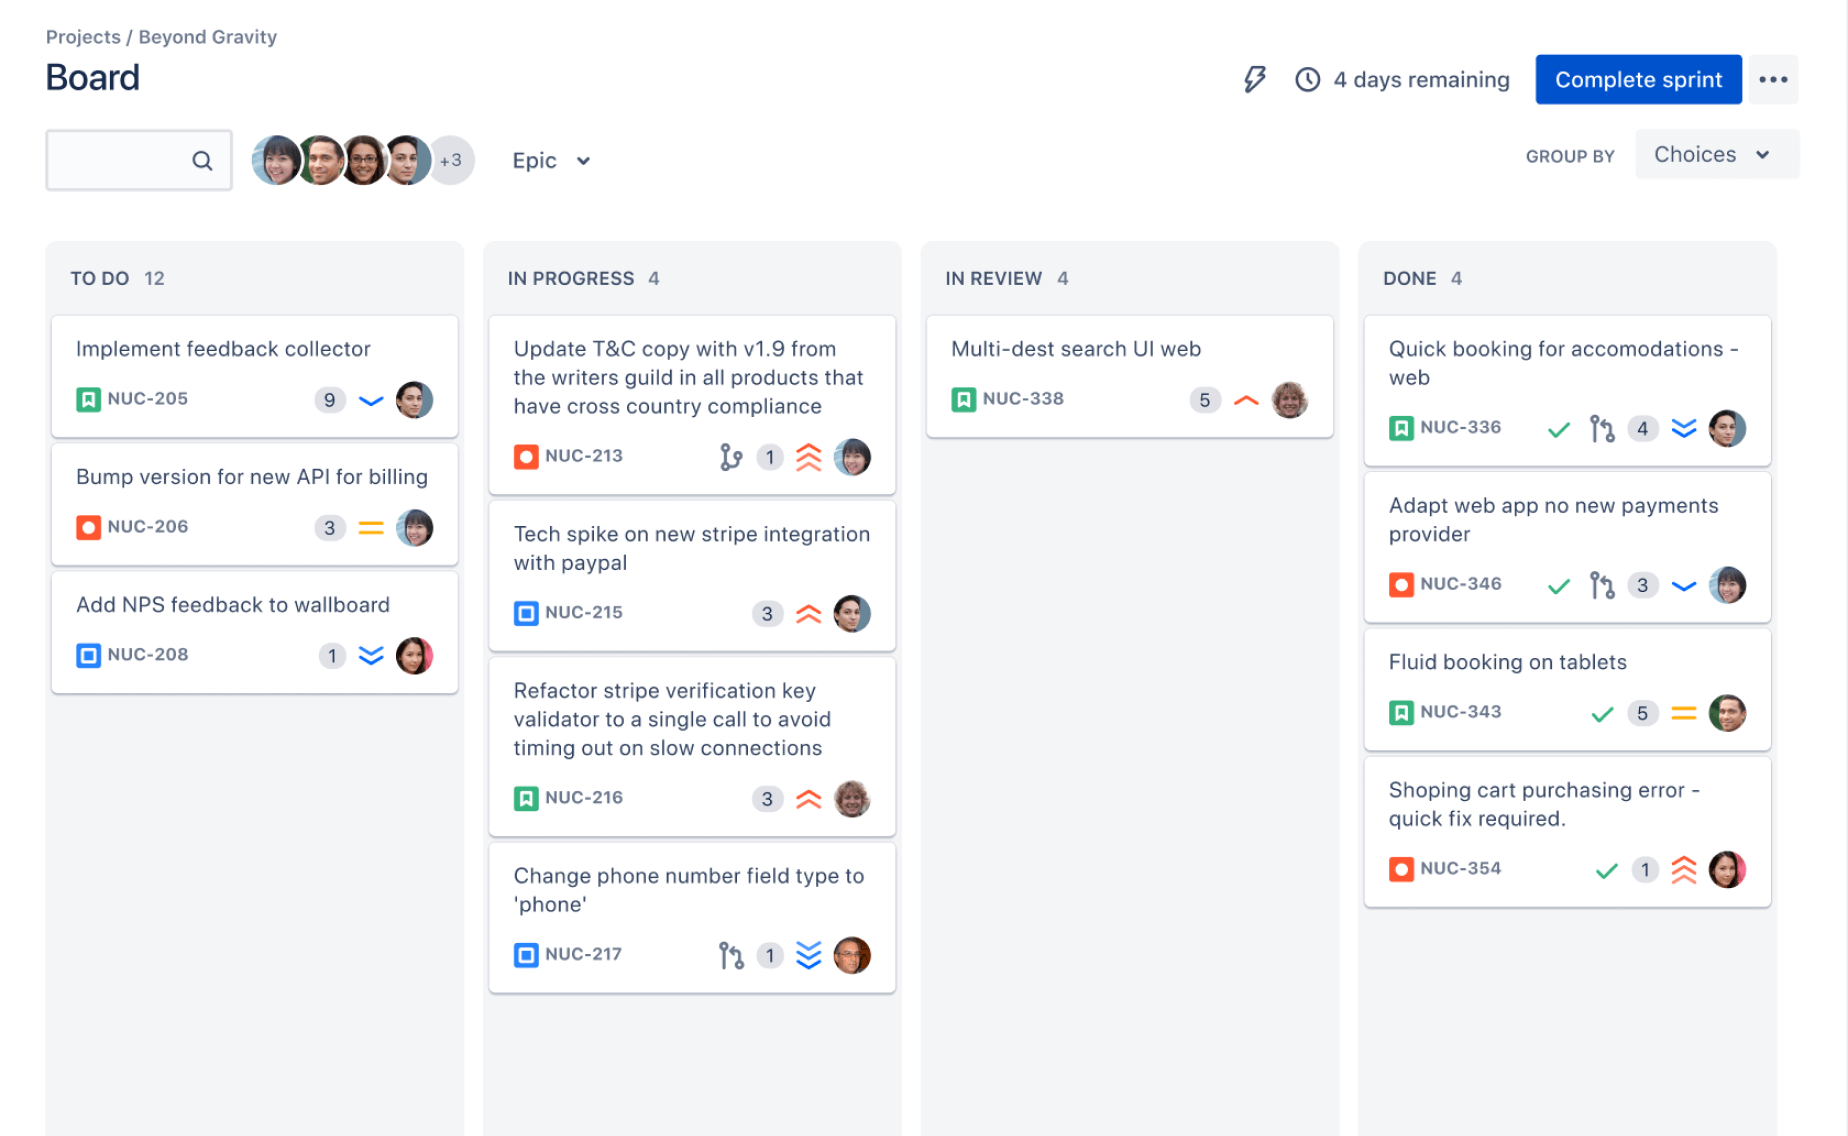
1. Confirm access and choose the integration method
Start by checking that you can administer Jenkins and create or manage Jira integrations. Ask your Jira administrator which edition you use: Jira Cloud, Data Center, or an older Server installation.
Next, decide what Jenkins should send to Jira. A basic setup may associate builds with issues. A richer setup can report build or deployment details, add comments, or update issue fields.
- Use a compatible Jenkins plugin when it covers the information and actions your team needs.
- Consider Jira’s REST API when you need a custom action or your selected plugin lacks a required feature.
- Keep the integration limited to specific jobs and Jira projects during the first rollout.
For example, a team might begin by showing build results on Jira issues for one service. It can add deployment events later, after the first connection works reliably.
2. Create a dedicated Jira account and credential
Use a dedicated Jira service account rather than a developer’s personal login. Give it only the project permissions required for the integration, such as viewing issues or adding comments.
For Jira Cloud, an API token is commonly used with the account’s email address. For Jira Data Center or Server, authentication options vary by version and security policy. Check the chosen plugin’s current requirements with your administrator.
- Create or select the service account in Jira.
- Generate the approved credential for your Jira edition.
- In Jenkins, store the credential in
Manage Jenkins > Credentials.
- Restrict credential access to the Jenkins jobs or folders that need it.
Never paste a token into a Jenkinsfile or place it in a pipeline command. Jenkins Credentials lets a job retrieve a secret without exposing it as ordinary pipeline text.
3. Install and configure a compatible Jenkins integration
Review the plugin’s maintenance status, compatibility, permissions, and supported Jira editions before installing it. Use your organization’s normal change process, especially if Jenkins runs production builds.
After installation, restart Jenkins only if the plugin requests it. Open the plugin’s configuration area and enter your Jira site address, authentication details, and any required project or connection settings.
- Use the full Jira site address, including the correct protocol.
- Select the Jenkins credential you created instead of typing a secret directly into a setting.
- Save the configuration, then use a connection test if the plugin provides one.
Plugin labels and settings can vary between versions. If a screen differs, check the plugin’s current instructions rather than copying settings from an older tutorial.
4. Connect Jira issue keys to Jenkins activity
Jira issue keys, such as PAY-418, give Jenkins a way to associate a build with tracked work. Decide where your team will include the key, then apply the same convention across jobs.
Common options include a branch name, commit message, pull request title, or build parameter. For example, a branch called feature/PAY-418-checkout-timeout makes the issue key easy to identify during a build.
Configure your plugin or pipeline to read the key and send the relevant build information to Jira. If the pipeline updates an issue or posts a comment, keep the message concise and useful, such as “Build 218 passed on staging.”
Test with a non-production issue first. Confirm that the correct ticket receives the update and that unrelated issues remain untouched.
5. Run a test build, verify the result, and roll out gradually
Trigger a build using a branch or commit that contains a valid Jira issue key. Check the Jenkins console for connection errors, then open the Jira issue and look for the expected build, comment, or status change.
Run a second test with a failed build if your workflow reports failures. This helps confirm that Jira shows a useful result in both cases, rather than recording only successful builds.
- Verify that the issue key was detected correctly.
- Check that the build details appear on the intended Jira issue.
- Confirm that no credential or token appears in console output.
- Repeat the test in each Jenkins folder or job type you plan to include.
Once the test passes, add jobs in small groups. This makes it easier to identify a misconfigured pipeline before it affects a wider release process.
What the Integration Can Do for Your Team
A Jenkins-Jira connection can make build activity visible alongside the work it supports. A developer reviewing issue PAY-418 may see that build 218 passed, while a release manager can trace a deployment to the associated ticket.
That context helps teams review progress without asking someone to copy status details by hand. It can also make failed builds easier to investigate when the pipeline records a clear result on the relevant issue.
Here's why: the integration is only useful when the information is accurate and actionable. A flood of repeated comments or updates to the wrong issue can add noise instead of saving time.
Start with a small set of events. For instance, report completed builds and staging deployments first. Add other updates only when the team can explain who needs them and what decision they support.
Choose the Right Jira Updates for Your Workflow
Different teams need different levels of integration. A small engineering group may only need build status associated with issues, while a release team may need deployment records and traceable approvals.
Consider the following distinctions before you configure a pipeline:
- Build visibility: Associates a Jenkins build with a Jira issue, helping developers inspect recent results.
- Deployment visibility: Shows where a change was deployed, which can help release coordinators review progress.
- Issue updates: Adds a comment or changes a field, which may be useful when a specific Jira workflow expects it.
For example, a team using Jira statuses to manage work may want a successful staging deployment to move an issue forward. That action should follow an agreed workflow and permissions policy, rather than happening automatically for every job.
You might be wondering: should every Jenkins job report to Jira? Usually, start with jobs tied to a specific project or release. Broad reporting can create clutter when utility jobs, test experiments, or unrelated services share the same Jenkins instance.
Secure Credentials and Keep Updates Reliable
Credential handling is part of the integration design. A Jira token with excessive permissions can create unnecessary risk if a pipeline is misconfigured or a secret is exposed in logs.
Store credentials in Jenkins Credentials and use a dedicated service account with only the required Jira permissions. Rotate credentials under your organization’s security process, and remove access when a job no longer needs it.
Reliability also depends on clear issue-key conventions. If one developer uses PAY-418 in a branch and another leaves the key out, Jenkins may not be able to connect both builds to the same Jira work.
Agree on a naming pattern and validate issue keys before sending updates. A pipeline can skip a Jira action when no valid key is present, reducing the chance of accidental updates to an incorrect ticket.
How to Test and Troubleshoot the Connection
When an update fails, check the connection in a predictable order. Start with authentication, then verify permissions, network access, issue-key detection, and plugin behavior.
- Authentication error: Confirm the credential type, account email, and token status. Check whether your Jira edition requires a different authentication method.
- Permission error: Verify that the service account can view the issue and perform the requested action in its project.
- No issue update: Inspect the branch name, commit message, or pipeline parameter for a valid Jira key.
- Connection timeout: Ask your network or Jira administrator to check access between the Jenkins environment and Jira.
- Unexpected issue changes: Review the pipeline conditions and narrow the job’s Jira permissions before running another test.
Let me explain: a build can succeed while its Jira update fails. Treat the build result and the integration result as separate checks, and make the pipeline’s logs clear about each outcome.
For a useful test, run one successful build and one controlled failure against a test issue. Confirm the message, issue association, and permissions before enabling the same behavior for release jobs.
Jira Workflow Management Solution: ONES.com
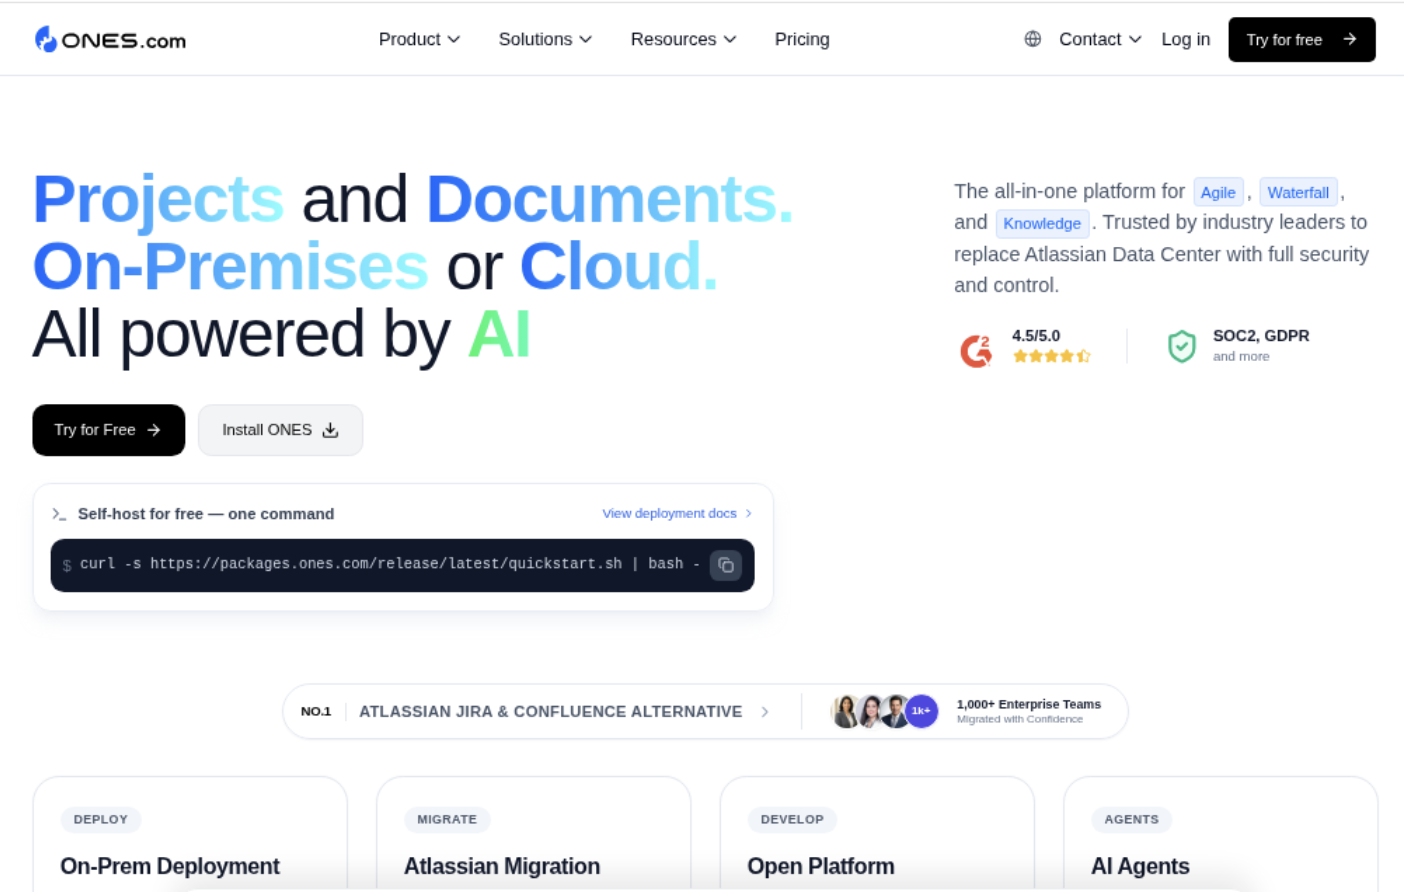
Value Proposition
ONES.com brings project management and knowledge management together in one platform powered by ONES Assistant. ONES Project is a Jira alternative for project management, while ONES Wiki provides knowledge management as a Confluence alternative; the products are sold separately.
For teams reviewing their wider workflow around Jenkins, ONES Project offers Jira-compatible workflows, reporting, sprint management, and automation. It can be deployed in the cloud or in self-hosted environments, including air-gapped setups.
Core Capabilities
- Disconnected project tracking: Teams maintaining Jenkins in restricted networks may need an environment that fits their deployment rules. ONES.com offers Cloud, On-Premise, Private Cloud, and Air-gapped deployment options, helping teams match project management to their infrastructure.
- Jira workflow transition: Teams moving from Jira may want familiar work patterns. ONES Project supports Jira-compatible workflows, making it easier to carry established issue-tracking habits into another platform.
- Build and release visibility: Teams need project status that can be reviewed without assembling updates by hand. Built-in reporting helps present work progress in the project management environment.
- Changing team processes: A fixed workflow may not reflect different approval paths. Custom workflows and fields let teams represent their own stages and project details.
- Sprint coordination: Agile teams need a clear view of planned and active work. Sprint management supports organizing issues across iterations.
- Repetitive project actions: Manual status changes can consume time during recurring work. Automation can handle eligible workflow actions and reduce routine effort.
- Plugin overhead: Teams that depend on several extensions may face more administration. ONES Project includes workflow and reporting capabilities natively, which can reduce the need for plugins in some setups.
- Cloud and self-hosted consistency: Teams may need to change deployment models as security or infrastructure needs evolve. ONES.com provides full feature parity between its cloud and self-hosted versions.
Application Scenarios
A software team running Jenkins in an air-gapped environment may need project tracking inside the same restricted network. ONES.com’s Air-gapped deployment option can support that environment, while the team manages work in ONES Project.
A team reviewing its Jira setup may compare workflow needs, hosting requirements, and extension overhead. It can assess whether ONES Project’s Jira-compatible workflows and built-in reporting fit its project process, while keeping Jenkins build practices under review.
Common Challenges and Practical Fixes
Jenkins connects, but Jira shows no build activity
Problem: The connection test passes, yet no build appears on the expected Jira issue. Solution: Check whether the pipeline supplies a valid issue key and whether the plugin sends build information for that job type.
A token or password appears in Jenkins output
Problem: A credential is visible in console output, creating a security concern. Solution: Stop the affected job, rotate the exposed credential, and move secret handling into Jenkins Credentials. Review pipeline commands and masking behavior before restarting.
Jira receives duplicate or irrelevant updates
Problem: Repeated builds generate multiple comments, or utility jobs update project issues. Solution: Limit integration steps to relevant jobs, use clear conditions, and decide which event types deserve an update.
One Jenkins job works, but another does not
Problem: Different folders, agents, or pipeline styles may use different credentials or environment settings. Solution: Compare the working and failing job configurations, then test permissions and network access in the affected execution environment.
FAQs About Jenkins and Jira Integration
Which Jenkins plugin should I use to connect Jira?
Choose a plugin that supports your Jira edition and the actions your team needs. Some integrations focus on associating builds with issues, while others can report deployment details or update Jira fields. Check current plugin maintenance, compatibility, permissions, and authentication requirements before installation. If no suitable plugin supports a required action, your team can evaluate Jira’s REST API for a controlled custom integration.
Can Jenkins update a Jira issue automatically after a build?
Yes, if your selected plugin or pipeline supports the required Jira action and the service account has permission. You can configure an update after a successful build, a failed build, or a deployment event. Decide what each update should communicate before enabling it. A short, specific message tied to the issue is usually more useful than a comment for every pipeline stage.
Where should I store the Jira API token?
Store the token as a Jenkins credential and let the job reference that credential when it connects to Jira. Avoid placing secrets directly in a Jenkinsfile, build parameter, or command that may appear in console output. Limit which jobs can access the credential, and follow your organization’s rotation process. Jira authentication options differ by edition, so verify the right credential type for your setup.
Why does Jenkins build successfully when the Jira update fails?
The build and Jira update are separate operations, so a successful compilation does not guarantee a successful integration call. Authentication problems, missing permissions, network restrictions, or an undetected issue key can prevent Jira from receiving the update. Review the integration result in the Jenkins logs separately from the build result. This distinction helps your team avoid treating an unreported build as a failed build.
How can I avoid linking a build to the wrong Jira issue?
Agree on a consistent issue-key convention for branch names, commit messages, or pipeline parameters. Validate that the key exists and belongs to an allowed project before sending an update. Begin with a test issue and review the result before enabling the integration for production work. If a job handles multiple issues, decide how it should select or report each key rather than relying on an ambiguous match.
Conclusion
Connecting Jenkins and Jira takes five core actions: choose the right integration method, create a restricted service account, configure the connection, pass valid issue keys, and test the results. Keep credentials protected and roll out changes gradually.
When build activity is disconnected from Jira, teams can lose context and spend time on manual updates. A careful integration gives developers and release coordinators a clearer view of work, while a focused rollout helps prevent noisy or incorrect ticket changes.
Start with one Jenkins job and one test issue. Verify each update, address any permission or key-detection problem, then expand the setup to the jobs that genuinely benefit from Jira visibility.