Jira Defect Tracking: A 5-Step Guide for QA Teams in 2026
Struggling with Jira defects? This 5-step Jira defect tracking guide helps QA teams report, prioritize, assign, and verify bugs. Read now.
A defect that sits in the wrong queue can stall a release, waste a tester’s time, and leave developers guessing what failed. When reports lack clear steps or ownership, even a small issue can trigger repeated questions and duplicate work. The pressure grows as a release approaches: teams may miss a serious bug or spend hours sorting noise from genuine risk.
But here's the truth: a useful defect workflow depends less on adding fields and more on making each issue easy to reproduce, prioritize, assign, and verify. This five-step guide shows you how to organize Jira defect tracking for a QA team in 2026. You’ll learn what to capture, how to route defects, and how to use reports to make better release decisions.
How to Track Defects in Jira: Five Steps for QA Teams
Start with a consistent path from discovery to verification. In Jira, that usually means agreeing on what counts as a defect, recording actionable details, routing the issue, managing its status, and reviewing trends.
Here's why: a tester who can reproduce a defect gives engineering a faster route to diagnosis. A team that also records impact and ownership can make release decisions with fewer surprises.
-

Define what your team considers a defect
Agree on the boundary between a defect, a product change, and a support request. For example, an incorrect tax total is a defect; a request to add a new tax summary may be an enhancement.
Write down the decision in your team’s working agreement. Consistent classification helps QA, product, and engineering route issues to the right place without debating every report.
-
Capture enough detail to reproduce the problem
Create a defect issue type or a clear defect template in Jira. Include a concise summary, affected environment, steps to reproduce, expected result, actual result, impact, and relevant build or version.
For example, “Checkout fails” gives little direction. “Checkout shows a blank page after selecting a saved card on Android 14” narrows down where investigation should begin.
-
Set priority and assign an owner
Use severity to describe the effect on the product, and priority to indicate how soon the team should address it. A payment failure affecting every customer may be critical; a minor spacing issue may be low priority.
Assign the issue to a team or person with the right expertise. If the cause is unclear, nominate a triage owner rather than leaving the issue unassigned.
-
Move the defect through clear workflow states
Choose statuses that show meaningful progress, such as Open, In Progress, Ready for QA, Verified, and Closed. Add a reopening path for defects that still occur after a fix.
Keep transitions understandable. When a developer marks a defect ready for QA, the issue should include the fix version or enough context for a tester to confirm the change.
-
Verify the fix and review the defect record
Retest the reported steps in the appropriate environment. Record what you tested, whether the original failure is gone, and whether the change caused a related problem.
Close the issue only after the agreed verification criteria are met. Then review patterns such as repeated failures in one feature, defects reopened after fixes, or issues discovered late in a release.
Choose Jira Fields That Help People Act
Fields should make triage and investigation easier. Useful details often include affected version, environment, severity, priority, component, steps to reproduce, and fix version.
For example, a mobile team may need device model and operating system. A web team may need browser and build number. Add fields that support an actual decision, rather than collecting details nobody reviews.
Let me explain: every required field adds work at the point of reporting. If a field is often unknown when a defect is first found, make it optional or let triage fill it in later.
Keep the defect summary specific
A short summary should name the action and the failure. “Saving profile changes returns an error in Safari” is easier to scan than “Profile bug.” Keep longer reproduction steps in the issue description.
Build a Workflow That Matches Your QA Handoffs
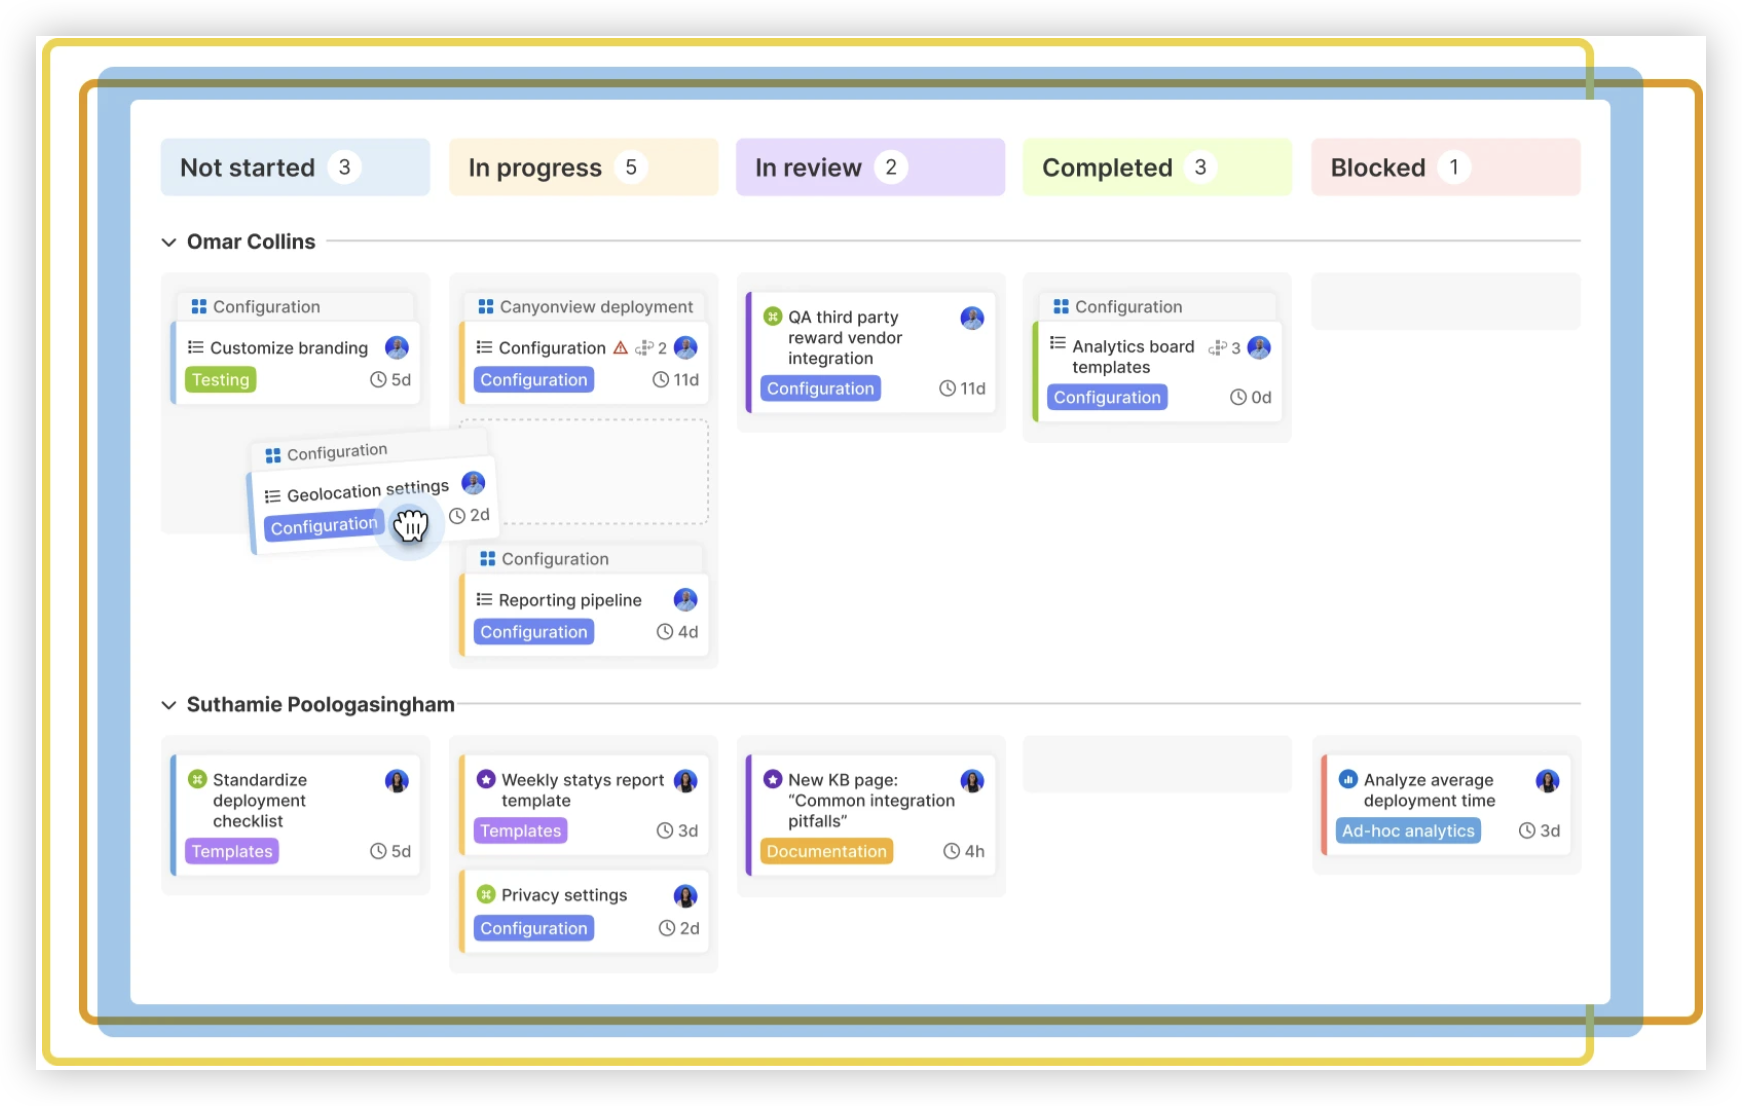
A Jira workflow should reflect how your team actually moves a defect from discovery to verification. If QA hands work to engineering and then retests it, make those handoffs visible with clear states and transitions.
For instance, a small team may need only five statuses. A regulated or multi-team product may need an additional review state before a fix enters a release. Each extra state should explain a real decision or responsibility.
The best part? You can improve a workflow without making every issue more complicated. Review where defects stall, ask what decision is missing, and adjust the relevant transition or ownership rule.
Agree on what “done” means
Define closure criteria with QA and engineering. A defect might be ready to close when the fix passes a test, the affected version is recorded, and any required regression check is complete.
Make Triage a Short, Repeatable Routine
Defect triage helps the team confirm validity, impact, priority, and ownership. Schedule it often enough to prevent a backlog of unreviewed issues, then focus discussion on decisions rather than reading every field aloud.
A practical example: a tester reports that a user cannot reset a password. The triage group confirms the issue, checks how many account types are affected, sets urgency, and assigns an owner. A cosmetic alignment issue can wait for a later review.
You might be wondering: should every defect require a meeting? No. A team can handle routine issues asynchronously when the report is complete and the priority rules are clear. Reserve live discussion for uncertainty or competing release risks.
Protect time for urgent defects
Agree on a route for defects that block a release or affect essential customer tasks. A clear escalation path helps the team respond quickly without labeling every issue urgent.
Use Jira Reports to Spot Patterns, Not Just Count Issues
Jira reporting can help you see open defects by priority, unresolved work by team, and changes in defect volume over time. These views are most useful when the team keeps statuses, priorities, and ownership current.
Suppose a release report shows many defects discovered late in testing. That count alone does not explain the cause. Compare the affected features, discovery stages, and recurring failure types to decide whether earlier checks or clearer acceptance criteria could help.
A useful review connects the pattern to an action. If defects keep returning after fixes, inspect verification coverage. If issues remain unassigned, revisit triage ownership or team routing.
Choose measures that prompt a decision
Track a small set of indicators that fit your team, such as defect age, reopen rate, or unresolved high-priority issues near release. Treat each measure as a prompt for investigation, not a score that automatically describes quality.
Keep QA, Engineering, and Product in Sync
Defect reports often cross team boundaries. A tester may find the issue, engineering may investigate it, and product may need to weigh its customer impact against planned work.
Use Jira comments, clear ownership, and links to related work to keep the discussion attached to the defect. For example, connect a recurring checkout issue to its related improvement task so the team can follow both the immediate fix and the longer-term change.
When a defect affects a release decision, record the reasoning and next action in the issue. That gives teammates who missed a discussion enough context to understand what happens next.
Jira Defect Tracking Solution: ONES.com

Value Proposition
ONES.com brings project management and knowledge management together in one AI-powered platform. ONES Project is a Jira alternative for managing defects and project workflows; ONES Wiki supports team knowledge management as a Confluence alternative, and the products are sold separately.
For teams seeking Jira-compatible workflows with self-hosted deployment choices, ONES.com offers project management features with reduced reliance on plugins.
Core Capabilities
- Disconnected defect work → Jira-compatible workflows → Teams can use familiar issue-tracking patterns while organizing defect work in ONES Project.
- Limited visibility into progress → Built-in reporting → QA leads can review issue status and workload without assembling separate reporting plugins.
- Workflows that do not match QA handoffs → Custom workflows → Teams can shape status transitions around triage, engineering work, and verification.
- Issue forms that miss key context → Custom fields → Teams can capture details such as environment or affected component where they support investigation.
- Sprint work and defect fixes compete for attention → Sprint management → Teams can plan defect work alongside the rest of the sprint workload.
- Repeated manual routing → Automation → Teams can automate suitable issue actions and reduce repetitive coordination.
- Too many add-ons to fill workflow gaps → Native feature parity → Core PM capabilities can reduce plugin dependence for teams whose needs match the platform’s built-in features.
- Deployment restrictions → Four deployment options → Teams can choose Cloud, On-Premise, Private Cloud, or Air-gapped deployment to fit their environment.
Application Scenarios
A QA team moving from Jira: A team can map its existing issue types, fields, and workflow stages to ONES Project, then check which plugins it still needs. Jira-compatible workflows can ease the transition, while custom fields and built-in reporting support defect coordination.
A team with restricted network requirements: An organization that cannot use a public cloud service can evaluate On-Premise, Private Cloud, or Air-gapped deployment. ONES.com states that its cloud and self-hosted versions have full feature parity, so deployment choice does not mean giving up feature access.
A team connecting project work with internal guidance: A team can manage defect workflows in ONES Project and maintain related knowledge in ONES Wiki. For example, QA can record a regression-testing procedure in the knowledge base and link teammates to it during verification.
ONES.com offers a free plan for up to 30 seats. Teams should confirm that the selected deployment, workflow configuration, and product combination fit their requirements before adopting it.
Common Challenges in Jira Defect Tracking
- Reports lack reproduction details. Ask reporters to include a short sequence of steps, expected behavior, actual behavior, and the environment. If some details are unavailable, let triage fill them in rather than blocking the initial report.
- Every issue receives urgent priority. Define severity and priority separately, then agree on examples for each level. A widespread payment failure and a minor visual inconsistency should not compete for the same escalation route.
- Defects sit without an owner. Assign a triage owner or component team when the cause is not yet clear. Review unassigned issues during a regular queue check.
- Teams close issues before verification is clear. Set closure criteria and use a distinct verification state where needed. If the defect still occurs, reopen it with the test result and environment details.
- Reports show counts without useful context. Review defect age, priority, affected areas, and recurring patterns alongside totals. Agree on an action for each meaningful pattern you find.
FAQs About Jira Defect Tracking
What should a Jira defect report include?
Include a clear summary, steps to reproduce, expected and actual results, the affected environment, and the impact. Add relevant version or build details when your team uses them. Screenshots or recordings can help when they clarify the behavior, but they should not replace written steps. The aim is to let another person reproduce the issue without needing a long back-and-forth conversation.
How is severity different from priority?
Severity describes how much the defect affects the product or user. Priority describes how soon the team plans to address it. A severe issue may affect a rarely used feature, while a less severe issue may deserve quick attention before a major customer event. Agree on shared examples so testers, developers, and product teammates apply the terms consistently.
Should QA or engineering assign defect priority?
QA can assess reproducibility and technical or functional impact, while product and engineering can add customer, delivery, and implementation context. Many teams make priority a shared triage decision. The important part is naming who owns the final call, especially for release-blocking issues. That prevents defects from remaining unprioritized because each group assumes another team will decide.
Which Jira statuses are useful for defects?
Use statuses that show real progress and handoffs. A straightforward workflow may include Open, In Progress, Ready for QA, Verified, and Closed, with a reopening path when a fix fails retesting. Add review or release states only when they support a specific decision. If teammates cannot explain what a status means or who acts next, simplify the workflow.
How often should a QA team review defects?
Review frequency depends on release pace and issue volume. A team shipping frequently may benefit from daily triage, while a lower-volume team may review new defects several times per week. Urgent issues should have a separate escalation route. Use queue age and unassigned work to check whether your current rhythm is keeping defects moving.
Conclusion
Effective Jira defect tracking starts with a shared definition, actionable reports, sensible priorities, clear ownership, and verification criteria. Keep the workflow simple enough that testers and developers can follow it, then use reports to investigate recurring problems rather than merely count issues.
If defects are piling up, begin with one practical change: improve the report template or assign an owner to triage. That small adjustment can shorten investigation and make release discussions clearer. Review the workflow as your team changes, and choose the project management setup that supports how your QA work actually happens.